ArcGIS Pro
In this guide we demonstrate how to use GRID3’s friction surface to calculate the shortest travel time between two points using ArcGIS Pro. We use the Nigeria mixed travel friction surface for this demonstration. If you already have the friction surface, a start and an end point, you can skip to Step 3.
Step 1: Add friction surface to the project
Obtain mixed travel clipped friction surface for Nigeria and add layer in ArcGIS Pro. The friction surface can be downloaded and manually clipped from here: https://academiccommons.columbia.edu/doi/10.7916/tw5k-ys98
Or clip and download using this tool (clipping to Katsina state for this example): [https://colab.research.google.com/drive/1WS4cDlm6ER0BKtntXXhNlLOWmsOW9qP8?usp=sharing](https://colab.research.google.com/drive/1WS4cDlm6ER0BKtntXXhNlLOWmsOW9qP8?usp=sharing)The friction surface can be better visualized using a max value of .05:
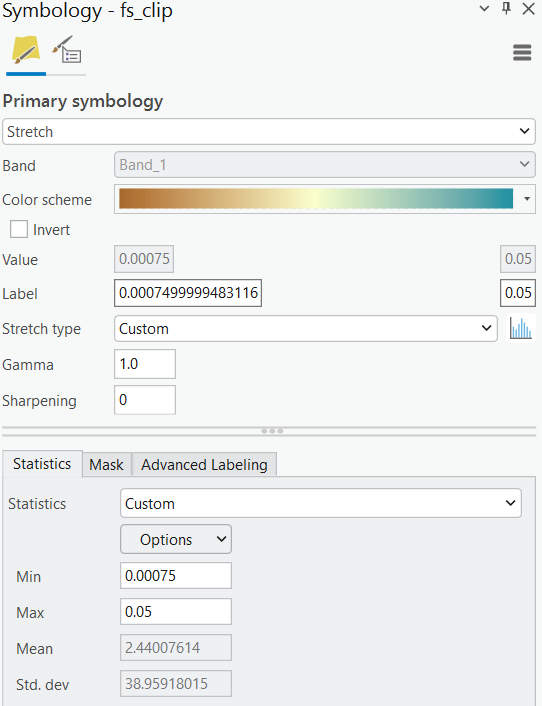
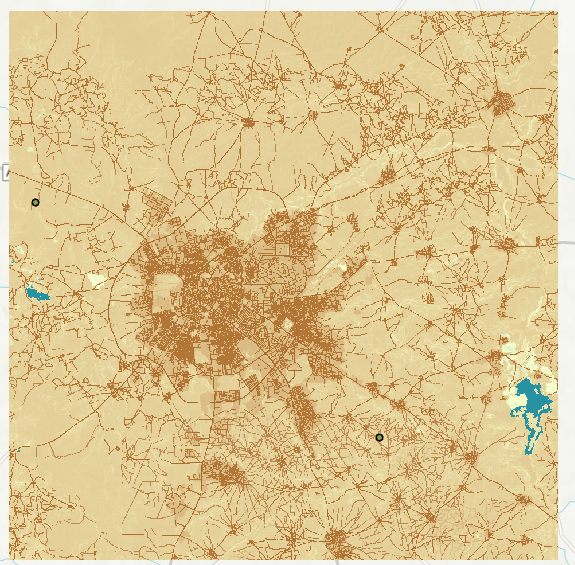
Re-visualized friction surface:
Step 2: Add start and end points
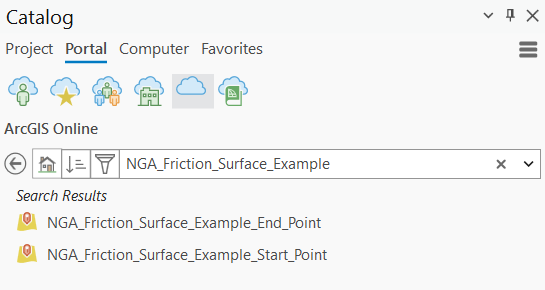
Add the start and end points from ArcGIS Online. Go to Catalog > Portal > ArcGIS Online and search for NGA_Friction_Surface_Example. From the results, add both the start and end points to the map
Step 3: Distances
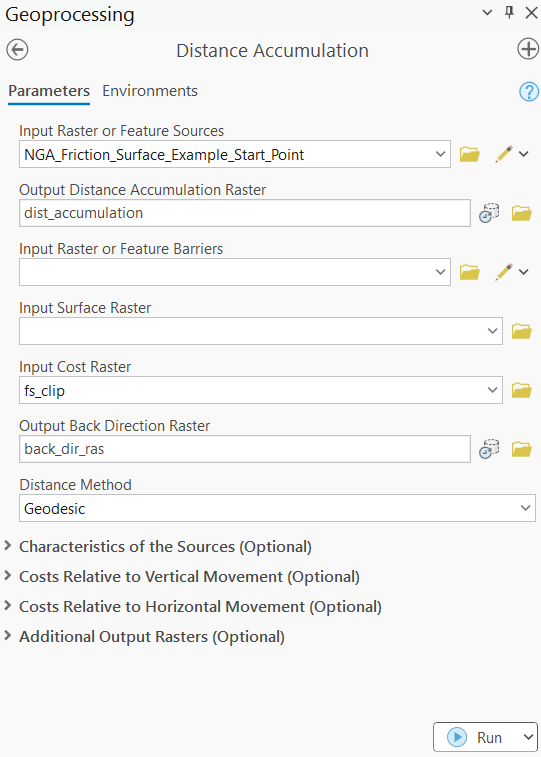
Run the distance accumulation tool to calculate the distance between each raster cell and the starting point. Make sure to output both a Distance Accumulation and Back Direction raster:
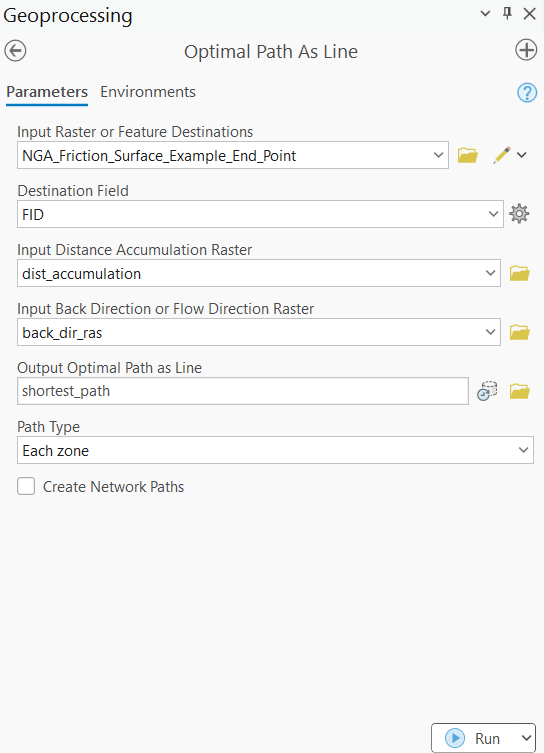
Step 4: Cost paths
Run the Optimal Path As Line tool to calculate the lowest cost path along the friction surface from the start point to the end point. Use the end point as the Feature Destination and the Distance Accumulation and Back Direction rasters from the previous step.
Step 5: Calculate travel time
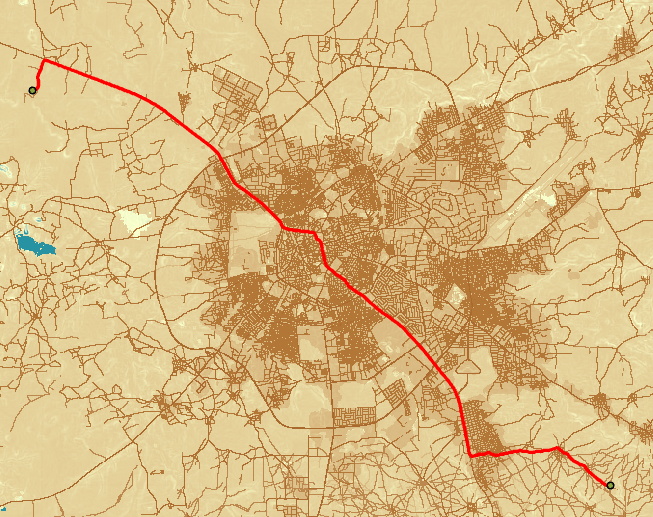
View the resulting path and travel time between points in minutes from the output Optimal Path attribute “PathCost”
Optimal Path
Open the shortest_path attribute table to find the travel time in minutes

This workflow can be applied to any of the GRID3 friction surfaces to calculate the shortest travel time between any two points.